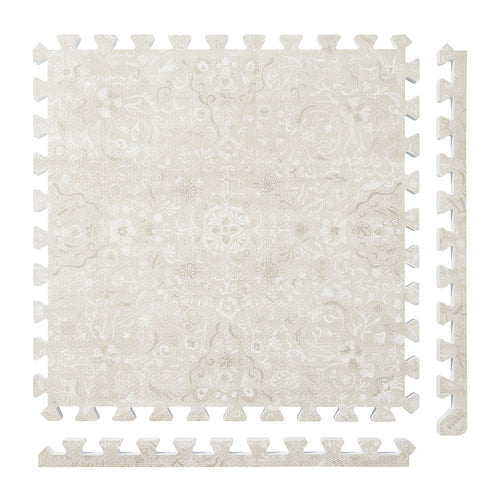
Persian Garden
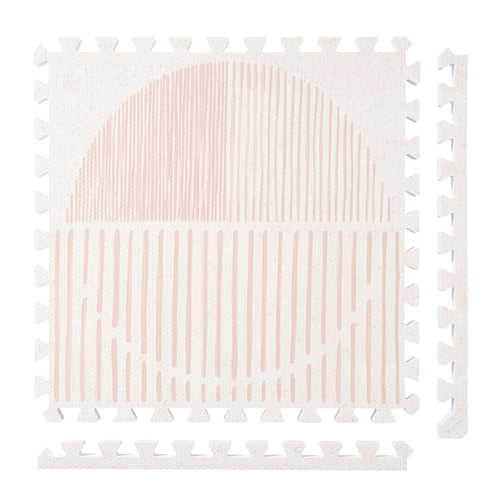
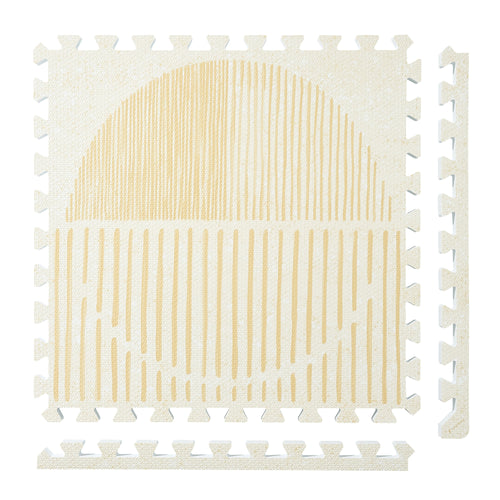
 Firework
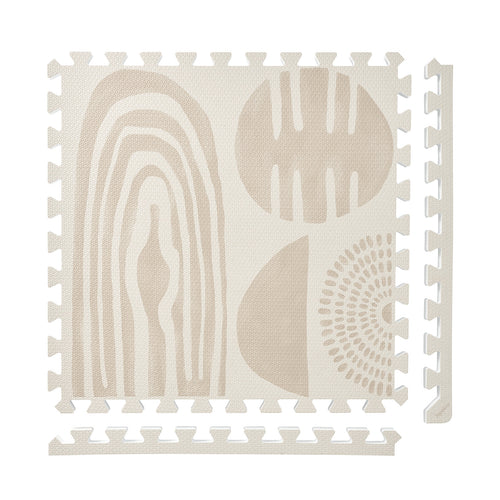
 Boho
Boho
 Little Builders
 Boulder
 Tranquil Flower
 Totem
Totem
Plan a mat handover for a daycare or playgroup room
For a room used by several groups or staff members, the useful document is more than a mat-size sketch. It should show which furniture stays, how the floor is arranged for each session and who records the reset. Establish that the exact mat is suitable under your setting's requirements separately; this worksheet does not grant institutional approval or set a hygiene policy.
Separate product approval from the room drawing
Create two headings on the planning sheet: requirements to confirm and room details measured. Put the exact product model and the person responsible for checking your setting's requirements in the first group. Put the room dimensions, furniture positions and proposed mat boundary in the second.
Do not fill an unanswered requirements field with a room measurement. A mat fitting in a rectangle does not establish that it is appropriate for the children, activities, premises or cleaning procedure in your setting. Resolve those questions through the responsible people and applicable product guidance before treating the drawing as an approved setup.
Give each session a named layout
Draw furniture that remains in place, then show the temporary items for one session. Name the drawing so that another staff member can distinguish it from a different session layout. Record where moved items will go; a table cannot occupy the same floor area that the drawing allocates to the mat.
Mark entrances, cupboards and the access routes your setting needs to retain. Record the requirements supplied by the premises and equipment owners instead of inventing a universal clearance. Use the remaining measured area for the proposed boundary.
Beside the sketch, list the layout name, room, date, furniture moved, mat components used and storage destination after the session. These fields make a handover specific without turning the article into a prescribed childcare procedure.
Use the tile grid as a count, not a capacity rule
PopsyKosy's installation guide describes 24-by-24-inch interlocking tiles, connected row by row by hand without tools or adhesive. Its same-thickness guidance matters when planning an expansion, but it does not determine attendance capacity, staffing or institutional suitability.
As an illustrative count, five columns by three rows gives a nominal 120-by-72-inch grid using 15 tiles. If the drawn clear rectangle is 126 by 78 inches, the six-inch differences are simply arithmetic. They are not a recommended clearance, border allowance or minimum room size.
Confirm the actual finished dimensions and perimeter of the selected configuration before accepting the drawing. Keep the component count beside the layout name so that a missing piece is visible in the record rather than hidden by an improvised arrangement.
Record the reset and the unresolved items
A handover can record who used the named layout, whether furniture was returned, whether the component count matches and which questions remain unresolved. The person taking over should be able to compare the room with the same drawing.
Keep the setting's existing cleaning and inspection procedure as a separate reference. Record its completion according to that procedure; do not substitute this layout worksheet or a household installation guide for it. If a product requirement is still unresolved, mark it clearly rather than passing it to the next session as an assumed approval.
When furniture or the intended activity changes, issue a new dated layout and repeat the affected checks. The goal is a room plan another person can follow and question, not a permanent sign-off based on the first arrangement.