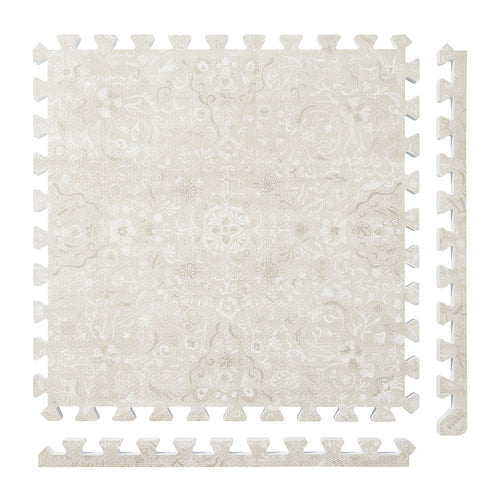
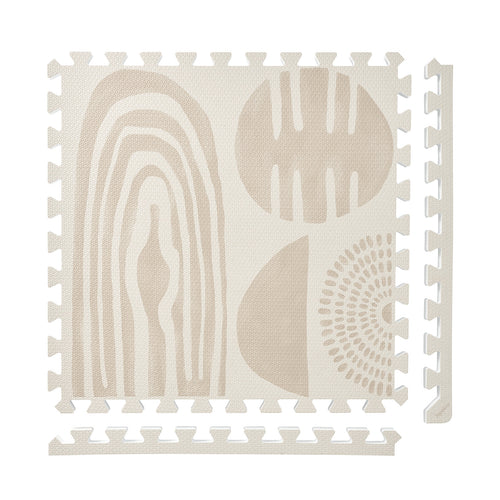
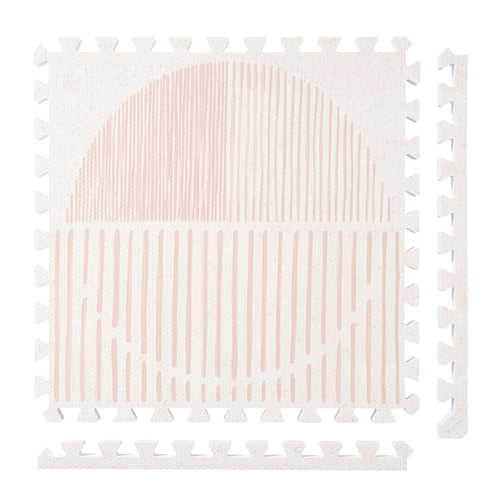
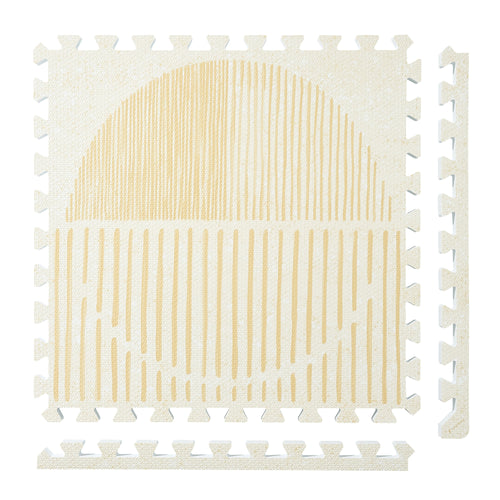
Persian Garden
 Firework
 Boho
Boho
 Little Builders
 Boulder
 Tranquil Flower
 Totem
Totem
PopsyKosy Installation Guide
Quick answer: Installing a PopsyKosy mat is a no-tools, no-adhesive job: measure, plan, lay, border, settle. Divide your space by 24 inches to estimate tiles, connect them row by row, finish exposed edges with border strips, and give a shipped mat a day to relax flat.
Plan the space
- Measure your area. Note the dimensions of the space you want to cover and divide by 24 inches to estimate how many tiles you need.
- Plan the layout. Decide whether the mat will sit wall-to-wall, define a play zone within a larger room, or center under a piece of furniture.
Lay it out
- Start clean. Begin on a clean, dry floor — debris under a tile is tomorrow's mystery bump.
- Lay the tiles. Starting from one corner, connect the 24in x 24in interlocking tiles row by row, pressing the seams flush.
- Add the borders. Finish the exposed edges with the included border pieces for a clean perimeter.
- Let it settle. Lay the mat flat and give it a day to relax completely if it was rolled in transit.
Get it right the first time
Keep the same thickness within one layout. Plan around furniture: sustained heavy legs can dent foam, so decide on-mat vs. off-mat before you lay. Keep edges out of walkways or finish them with borders. Prefer a simple connect-the-tiles walkthrough? See the Assembly Instructions, and check dimensions on the Spec Sheet.
FAQ
Do I need tools or adhesive?
No. Tiles interlock by hand and nothing sticks to your floor — the layout lifts out as easily as it went in.
Can I expand the layout later?
Yes — add tiles of the same thickness and follow current product guidance when changing the arrangement.
Assembly Instructions · Spec Sheet · Build Your Floor · Shop all designs