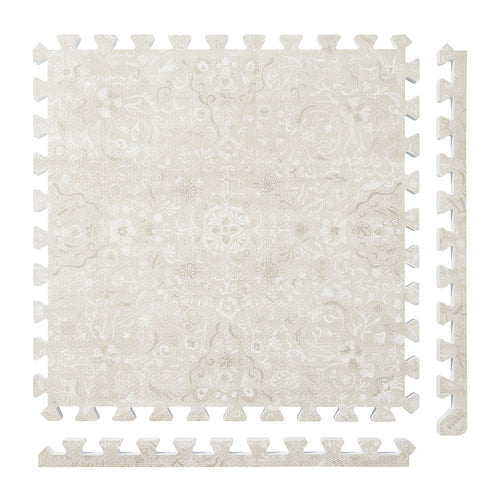
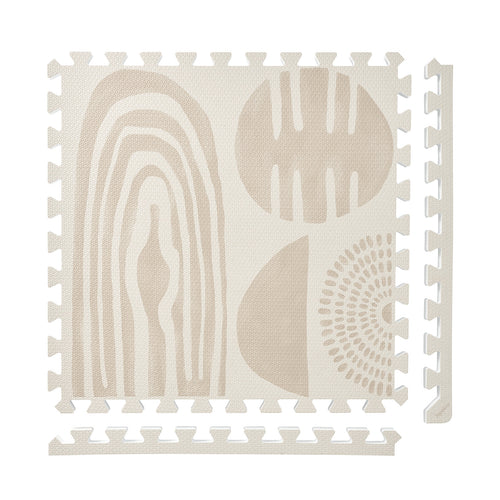
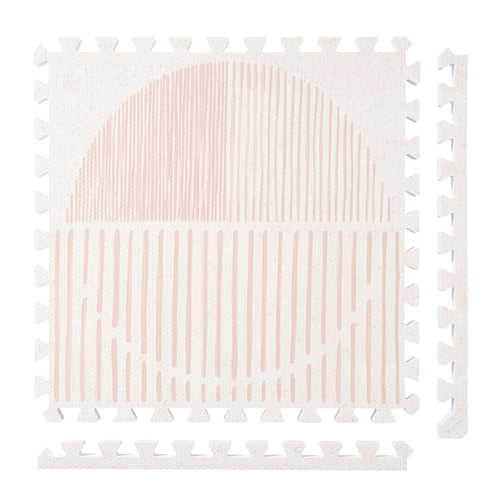
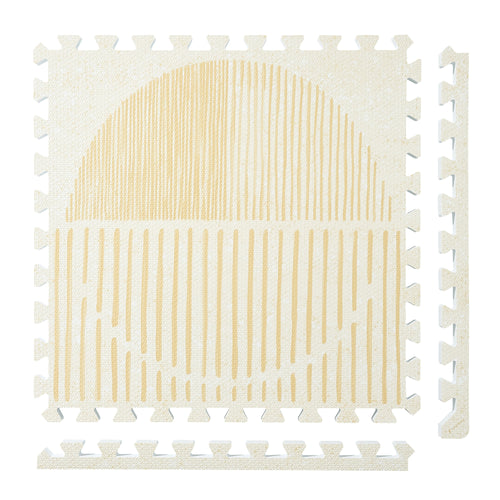
Persian Garden
 Firework
 Boho
Boho
 Little Builders
 Boulder
 Tranquil Flower
 Totem
Totem
Measure a mat layout near a pet gate
Record the gate’s installed position and opening movement before drawing a mat boundary near it. Keep the gate requirements and the floor-layout measurements on separate lines. A tile count cannot establish whether a mat may sit under a particular gate or whether the gate will operate as intended.
Make a threshold measurement record
Use the exact gate’s installation instructions to resolve placement requirements. This worksheet does not provide gate-mounting instructions or a universal gap measurement.
| Part of the opening | What to record |
|---|---|
| Gate position | Its installed location and any floor-contact or threshold parts. |
| Opening movement | The area used when the gate opens in its permitted direction. |
| Nearby objects | Doors, storage units or furniture that enter the same space. |
| Care access | Where you can reach tile joins, perimeter edges and the floor underneath. |
Draw the gate open and closed on the same plan. If the proposed tile boundary crosses a threshold part or enters the opening area, resolve that arrangement against the gate and mat instructions before choosing coverage. Do not adjust a specified gate clearance to fit a tile grid.
Place the grid beside the gate drawing
PopsyKosy’s installation guide describes 24-by-24-inch tiles and planning in 24-inch increments.
- Measure the clear floor rectangle after marking the gate’s required space and nearby openings.
- Draw the mat boundary and indicate which joins and edges will need access during care.
- Overlay a 24-inch grid and count full rows and columns; record leftover strips separately.
- Check the selected configuration’s finished dimensions, including borders, against the actual threshold arrangement.
An illustrative two-by-two grid has nominal dimensions of 48 by 48 inches and uses four tiles. It is a counting example, not an approved pet-gate footprint or a recommendation to place tiles under gate components.
Follow the documented tile-care sequence
The PopsyKosy care guide calls for removing loose debris, wiping with a soft cloth, mild soap and water, removing soap residue, and drying the tiles, seams, edges and floor underneath before reassembly. Include joins and the floor underneath in the inspection.
Follow the exact product’s current guidance. Avoid soaking, bleach, steam, harsh solvents and abrasive pads.
Keep the gate model and the room sketch together. If the gate is moved, recheck its instructions and the threshold measurements before reusing the old mat plan. Complete the documented care sequence before restoring the floor layout.
FAQ
Can I assume a mat will fit under a pet gate?
No. Check the exact gate’s installation and clearance requirements along with current mat guidance. The floor sketch does not establish gate or surface compatibility.
What needs access during care near a gate?
Plan access to tile faces, joins, perimeter edges and the floor underneath. The documented care sequence includes inspection, wiping, residue removal and complete drying.