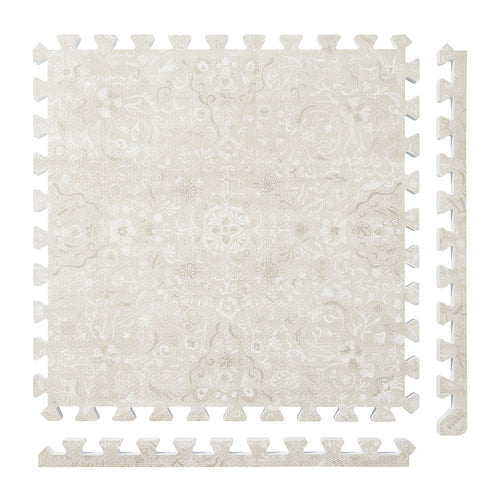
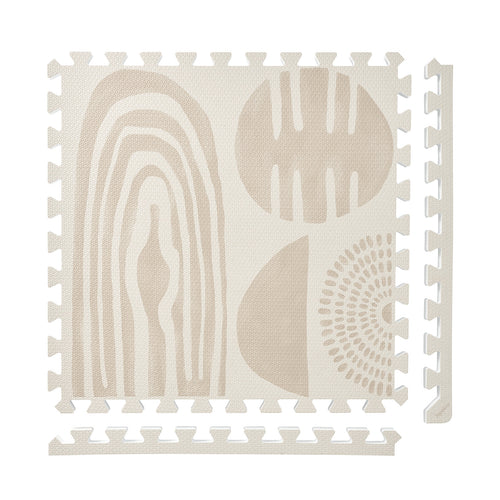
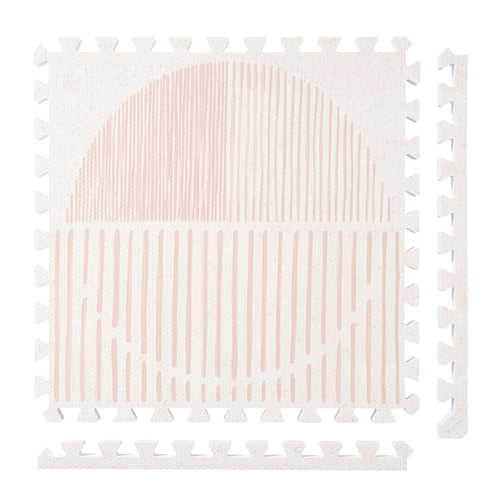
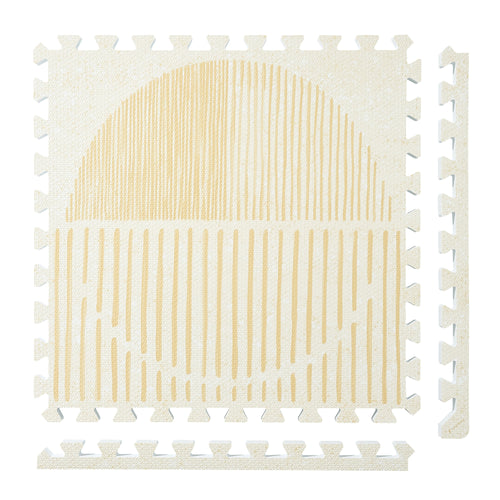
Persian Garden
 Firework
 Boho
Boho
 Little Builders
 Boulder
 Tranquil Flower
 Totem
Totem
Plan a mat layout for a mudroom or entry
Draw the entry in the arrangement used during arrivals: doors open, storage in use and belongings at their usual destinations. Then identify the clear floor area you want to evaluate for a mat. The useful measurement is the space left after those movements, rather than the distance between the walls.
Check the entry during an arrival
Include the items your household actually stores in the entry. A bench, cabinet and coat area each have a different relationship to the available floor.
| Entry feature | What to mark |
|---|---|
| Main door | Its full opening area and the route into the home. |
| Second door | Any interior, cupboard or utility door that meets the same area. |
| Bench or cabinet | Its footprint plus the space used by drawers or doors. |
| Belongings | The actual destinations for bags, shoes or pet-related items. |
Compare the door outlines. If two openings occupy the same part of the drawing, decide how the room arrangement will work before extending a mat into that area. Keep access to the storage destinations visible on the plan.
Measure the remaining entry floor
PopsyKosy’s installation guide describes 24-by-24-inch tiles and planning in 24-inch increments.
- Draw the openings and furniture to scale, with a separate line for the route through the entry.
- Mark the rectangle available for the proposed mat and where its edges would sit.
- Overlay a 24-inch grid, then count only complete rows and columns inside that rectangle.
- Check finished product dimensions and the relevant door, furniture and floor requirements before selecting the layout.
An illustrative three-column by two-row grid is nominally 72 by 48 inches and uses six tiles. If the entry is narrower, rotating that drawing changes the width to 48 inches; it does not change the tile count. Verify finished borders separately.
Follow the documented tile-care sequence
The PopsyKosy care guide calls for removing loose debris, wiping with a soft cloth, mild soap and water, removing soap residue, and drying the tiles, seams, edges and floor underneath before reassembly. Include joins and the floor underneath in the inspection.
Follow the exact product’s current guidance. Avoid soaking, bleach, steam, harsh solvents and abrasive pads.
Keep the floor-care access on the drawing when adding storage. A new cabinet or bag destination can make an edge harder to reach even when the tile count remains unchanged. This guide does not claim that the layout absorbs water or protects the floor.
FAQ
Should I use the full mudroom width for the tile plan?
First account for door openings, furniture, storage access and the route through the room. Use the remaining measured area for the proposed layout.
What is the documented routine after loose debris collects?
Remove loose debris, wipe with a soft cloth using mild soap and water, remove residue, and dry the tiles, joins, edges and floor underneath before reassembly.
Related planning: map a family adventure-room return zone.