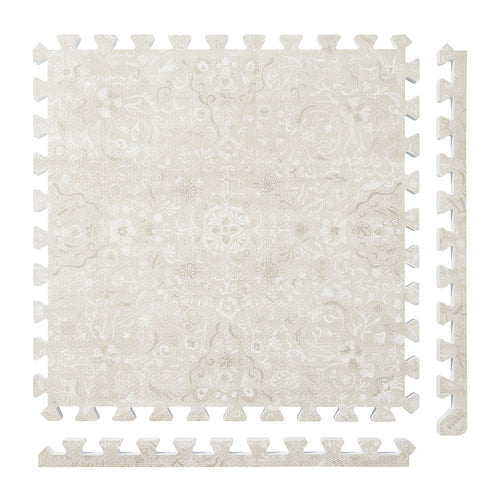
Persian Garden
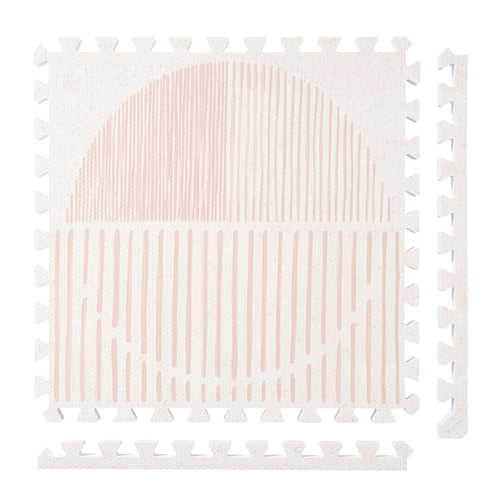
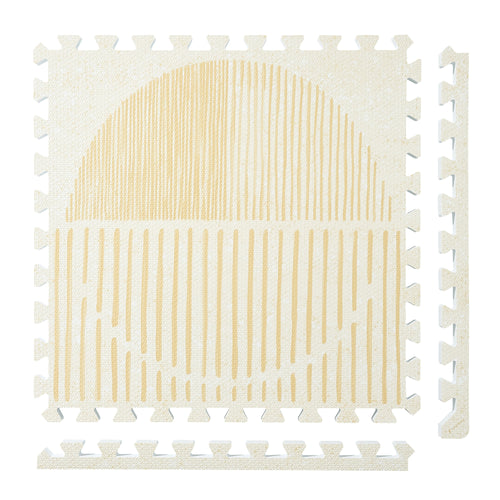
 Firework
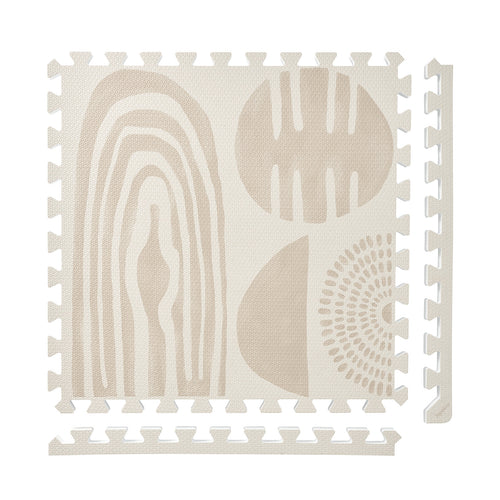
 Boho
Boho
 Little Builders
 Boulder
 Tranquil Flower
 Totem
Totem
Before putting a mat under a litter box, plan the cleanup
Start with the part of the setup you cannot see. Can you move the box, remove the mat and reach the floor underneath without leaving another piece in the way? Check the litter-box maker's support and placement instructions separately. A mat-care guide does not establish that a particular box can sit on a particular surface, or that the surface will capture litter or contain liquid.
Draw the setup as separate items, not one rectangle
On a simple sketch, label the box, any product intended to catch litter, the proposed mat area and the floor beneath it. Add the cupboard or door you need to open while cleaning. Keep the box's full footprint distinct from its entrance and from the area you want to reach around it.
Next to each item, write which instructions govern it. The box, litter-catching product, mat and room flooring may have different care requirements. Do not assume that a cleaner or method allowed for one is appropriate for all four. Resolve any unknown placement requirement before finalizing the drawing.
Use the sketch to answer one practical question: if the box remains in place, which part of the mat or floor is inaccessible? Mark that area as a removal task rather than pretending that wiping the exposed border completes the job.
Give every moved item a temporary destination
Write the removal order beside the drawing. Name where the box and any loose surrounding items will go while their usual position is being cleaned, following their own handling instructions. A temporary destination is useful only if it leaves the next item and the floor accessible.
PopsyKosy's cleaning guide includes inspecting tile faces, joins, borders and the floor underneath. Turn those into four separate checkboxes. For this setup, the useful question is not simply whether the visible surface looks clean; it is whether the box can be moved enough to complete all four checks.
If the proposed mat can only be lifted by dismantling more furniture than you intend to move, reconsider the layout or the product choice. Buying more coverage does not resolve a removal sequence that you cannot carry out.
Keep mat care separate from litter-box sanitation
For the mat, PopsyKosy's guide describes removing loose debris, wiping with a soft cloth, water and a small amount of mild soap, removing residue, and allowing the tiles to dry completely before reassembly. It also calls for the floor underneath to be fully dry. Follow the current care instructions for the exact product.
The same guide says to avoid bleach, steam, harsh solvents, abrasive pads, soaking and trapped moisture. These are mat-care limits, not instructions for cleaning litter waste or disinfecting the box. If the required box-cleaning process conflicts with mat care, do not treat this household wipe-down routine as a substitute.
Keep litter capture, odor control and liquid containment as separate product questions. The documented mat routine does not prove any of those outcomes, and this checklist does not recommend a thickness for them.
Reset from the bottom layer upward
Before returning items, record that the floor and mat checks are complete. Compare the placement with the original sketch and the product instructions; do not cover an unfinished or unresolved area simply to restore the room's appearance.
Finish the record with the date, what was moved and any part you could not reach. If a new box, cabinet or litter-catching product changes the removal order, update the drawing. The result should be a repeatable access plan, not an assumption that the first arrangement is permanently suitable.