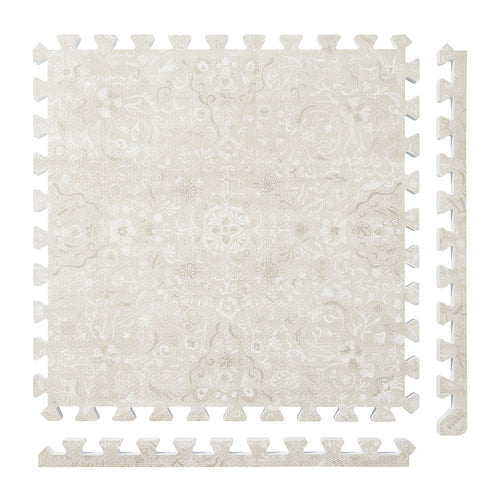
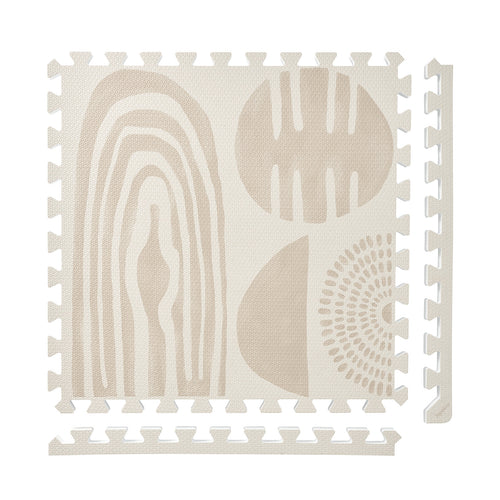
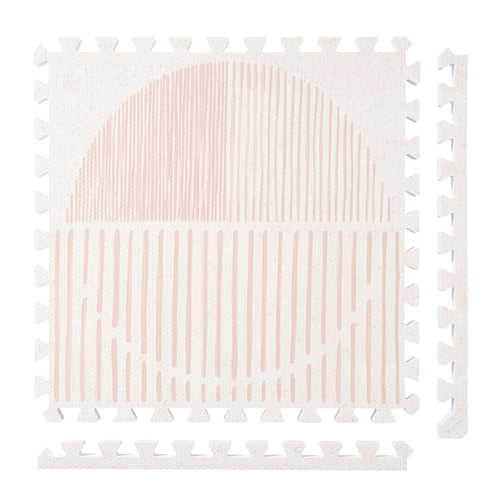
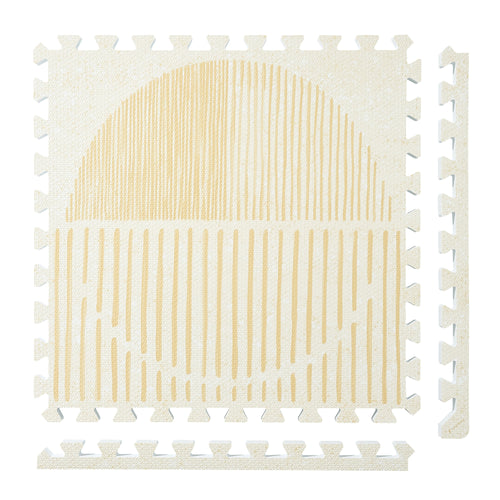
Persian Garden
 Firework
 Boho
Boho
 Little Builders
 Boulder
 Tranquil Flower
 Totem
Totem
Plan an after-run stretching space at home
A useful after-run room plan starts at the entrance. Decide where the things you bring home will go, how you will reach the intended floor area and where any session equipment is stored. Keeping those destinations on one drawing makes the setup specific to your home. The choice of stretching routine and suitable surface remains a separate question.
Make an arrival-to-reset checklist
List what you actually carry and use. The examples below are organizational prompts; they do not prescribe running or stretching equipment.
| Stage | Decision to record |
|---|---|
| Arrival | A destination for keys, a phone and other carried belongings. |
| Before the session | Where shoes or outer layers go when they are no longer being used. |
| Equipment access | The shelf or container holding any items your routine requires. |
| After the session | Which belongings return to storage and which leave the room with you. |
Draw the route from the entrance to each destination. If a bag or equipment container normally lands in the proposed floor area, assign it a different place before measuring that area. Count the space available during the actual routine, not an empty-room photograph.
Measure the floor area in its ready state
PopsyKosy’s installation guide describes 24-by-24-inch interlocking tiles, connected row by row by hand without tools or adhesive.
- Check the space and surface requirements of the routine or instruction you follow. Keep unresolved requirements separate from room preferences.
- Place the planned storage destinations on the drawing and preserve the access route between them.
- Measure the remaining clear rectangle. Overlay a 24-inch grid, recording full rows, columns and any leftover strips.
- Write the last step of the room reset: return equipment to its named destination and check the drawing against the everyday arrangement.
An illustrative two-column by three-row grid uses six tiles and has nominal dimensions of 48 by 72 inches. Turning the drawing gives 72 by 48 inches; the tile count stays six, but its relationship to the entrance and storage changes. Check finished borders separately.
The same guide describes expansion with compatible tiles of the same thickness. Check current product guidance for the tiles you own and plan to add.
Keep the checklist short enough to use again: arrival destinations, equipment location, clear rectangle and reset. If those locations change, update the drawing. This worksheet makes no claim about recovery, flexibility or any effect of stretching after a run.
FAQ
Does an after-run routine require a particular tile count?
This guide does not set one. Determine the routine’s space and surface requirements, then compare them with the measured room and the selected mat’s finished dimensions.
Why map belongings before measuring the floor area?
Belongings and their storage destinations can occupy the same space you intended to use. Drawing them first gives the tile plan a defined room arrangement to work from.
Related planning: measure a separate home studio mobility floor zone.