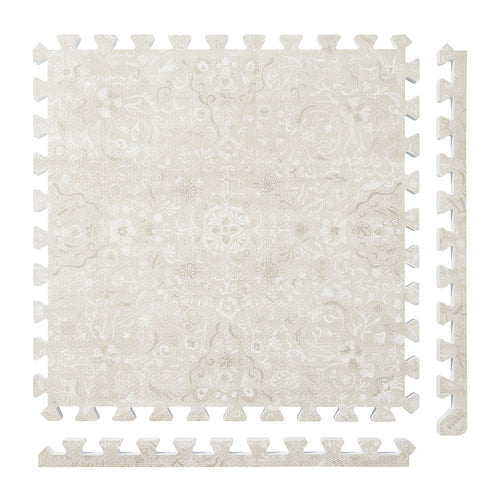
Persian Garden
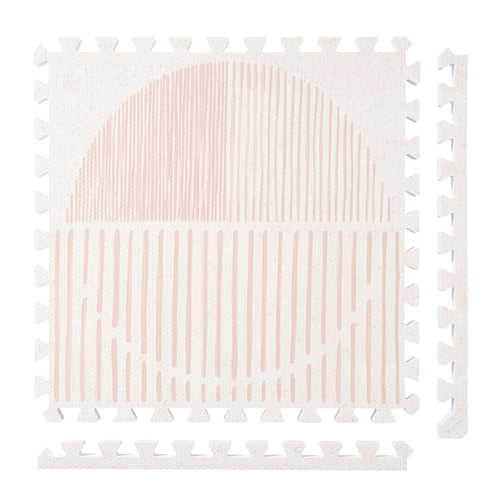
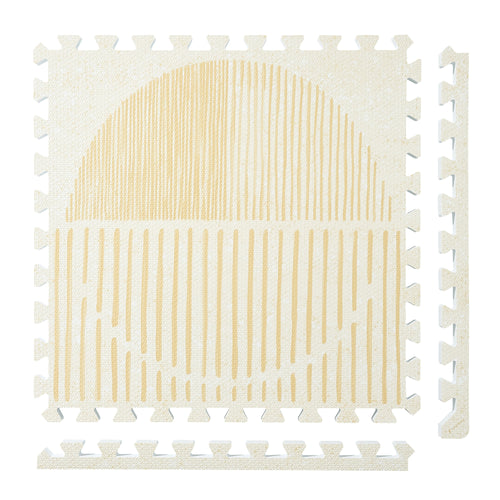
 Firework
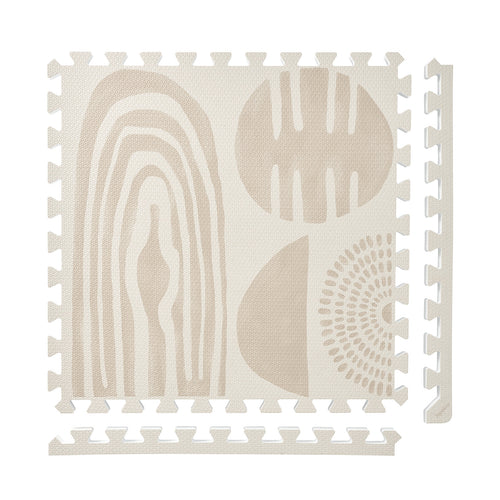
 Boho
Boho
 Little Builders
 Boulder
 Tranquil Flower
 Totem
Totem
Plan a resistance-band area without confusing flooring with equipment
A resistance-band setup has two different plans: the equipment arrangement required for the chosen routine, and the floor area you want to cover. Establish the first from the exact band's instructions and the routine's guidance before drawing the second. PopsyKosy's tile installation guide describes a floor layout; it does not approve band anchoring, traction, resistance levels or exercise technique.
Make an equipment record before measuring tiles
Start a record for the exact band or set: product name, the instructions you are using, the routine you intend to follow, any specified accessories and the surfaces or fixing points those instructions require. Leave a field visibly unanswered if the instructions do not establish it.
Do not replace a missing equipment specification with a mat description. Thickness, a tile photograph or the fact that pieces connect does not answer whether an anchor, exercise or contact surface is appropriate. This worksheet does not supply an anchor installation method or an alternative to the equipment maker's requirements.
Keep different routines on separate records when their equipment arrangements differ. A standing routine and a floor-based routine may ask different questions; neither should inherit the other's approval simply because it takes place in the same room.
Transfer the documented arrangement onto the room drawing
Draw fixed furniture, doors and the equipment positions supplied by the relevant instructions. Then mark the space that the routine's guidance requires you to keep available. Record the source of those boundaries instead of inventing a universal distance from a wall.
Make this a paper-planning step, not a trial of how far a band can stretch. If the instructions do not let you establish the arrangement, resolve that question before treating the room sketch as ready. The article does not prescribe a movement, load, repetition count or rehabilitation routine.
Now compare that drawing with the proposed mat boundary. Mark where the documented setup would meet an edge or a different floor surface, and check those transitions against the equipment and routine requirements. The floor outline is an observation to review, not proof of grip or stability.
Use the tile grid only to count floor coverage
PopsyKosy's installation guide describes 24-by-24-inch interlocking tiles joined row by row by hand, without tools or adhesive. It says to use the same thickness when expanding a layout and follow current product guidance. Those statements concern assembly, not resistance-band anchoring.
For a nominal sketch, three columns by three rows gives a 72-by-72-inch grid using nine tiles. Confirm the selected configuration's finished perimeter separately. Nine tiles is a counting example, not a recommended workout footprint or clearance for a band.
Keep the equipment drawing visible beside that count. If a routine's required area falls outside the sketch, adding tiles alone does not resolve the equipment or movement requirement. Revisit the original arrangement rather than assuming broader coverage provides the missing approval.
Store the setup as a named kit, not an assumed default
Give the record a name and list the items that belong with it. After the session, follow each item's own care and storage instructions, then return it to the location noted on the record. This prevents the next setup from relying on an accessory that has been moved or on a remembered arrangement.
When the band, accessory, furniture position or intended routine changes, revisit the affected requirements before using the old drawing. Keep room-floor coverage and equipment approval as separate decisions. A modular floor can be planned from documented dimensions without claiming that it is exercise equipment.
Sources
Related planning: plan a measured large-tile home studio grid.