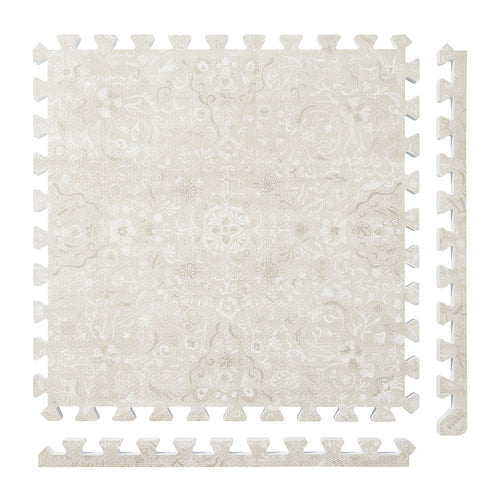
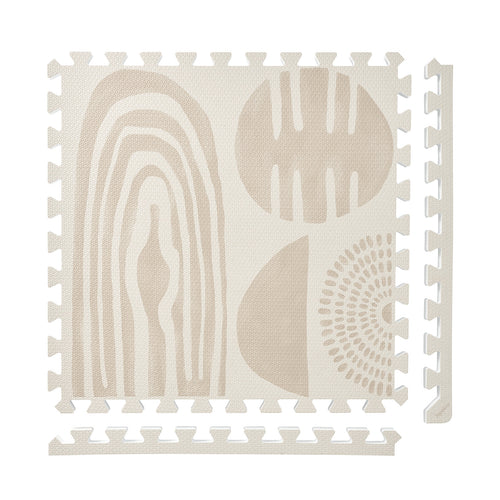
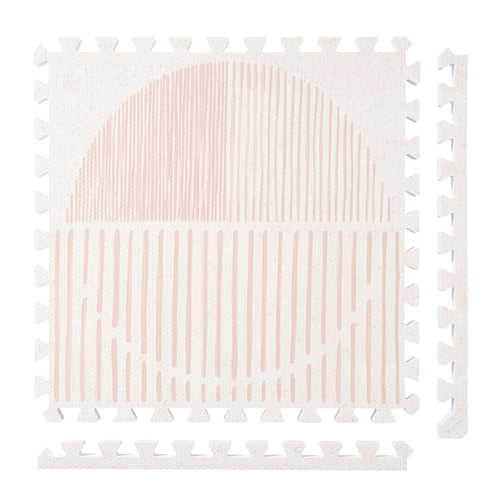
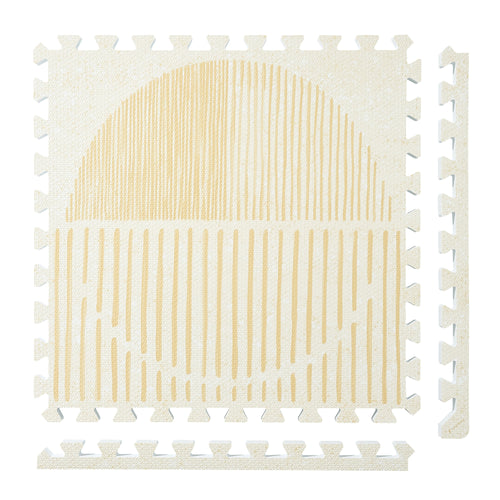
Persian Garden
 Firework
 Boho
Boho
 Little Builders
 Boulder
 Tranquil Flower
 Totem
Totem
Plan a floor zone for core and ab work
Plan the floor area from the session’s equipment list and the room space you can actually use. Keep the area assigned to the session separate from the place where other items wait. This avoids counting a storage corner as usable floor space at the same time. The worksheet does not prescribe exercises or establish which surface a core or ab routine requires.
Give every session item a location
Use the requirements of the routine or instructor you follow. List only items that are actually part of that plan; the worksheet is not an equipment recommendation.
| Item status | Location to draw |
|---|---|
| Currently in use | Its footprint within the room arrangement required by the routine. |
| Waiting for later | A defined position outside the floor area reserved for the current activity. |
| Being retrieved | The route between its storage position and the session area. |
| Finished for the session | The storage destination it returns to during the room reset. |
Review the list in the order the items are needed. If retrieving one item requires moving a different item into the reserved floor area, revise the storage arrangement on paper. Check any equipment placement and clearance requirements separately; no universal spacing is supplied here.
Count tiles after allocating equipment space
PopsyKosy’s installation guide describes 24-by-24-inch interlocking tiles, connected row by row by hand without tools or adhesive.
- Write down the routine’s required space and surface. Mark any requirement that still needs clarification before buying.
- Draw the room with furniture, openings and the in-use and waiting locations from the table.
- Measure the clear rectangle allocated to the floor zone. Overlay a 24-inch grid and count complete rows and columns.
- Verify the selected configuration’s finished dimensions, then save the equipment return list with the room drawing.
For an illustrative 74-by-74-inch clear rectangle, a three-by-three grid has nominal dimensions of 72 by 72 inches and uses nine tiles. The difference is not a specified equipment clearance, and the example does not establish that nine tiles suit a particular routine.
The same guide describes expansion with compatible tiles of the same thickness. Check current product guidance for the tiles you own and plan to add.
If the session uses different equipment another day, revisit both the in-use and waiting locations. A compact plan depends on what occupies the room at each stage, not just the number of tiles. Confirm current product guidance before any proposed expansion.
FAQ
Can stored equipment be included in the clear floor measurement?
Draw storage and the intended session footprint separately. If an item occupies that footprint during the session, account for it before calling the area clear.
Does a larger tile layout make a core or ab routine suitable for the mat?
No. More coverage changes dimensions only. The intended routine and equipment must separately match the surface requirements and current product guidance.
Related planning: plan a measured home-studio floor boundary.