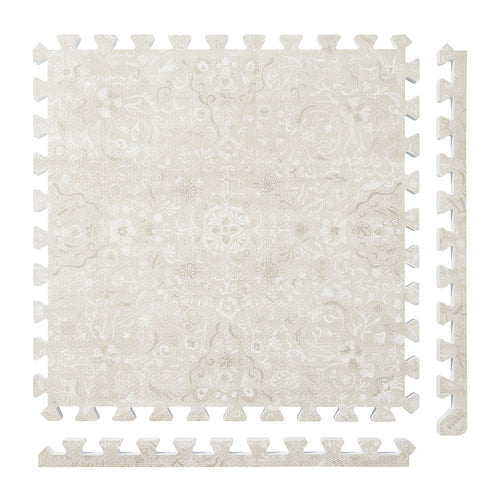
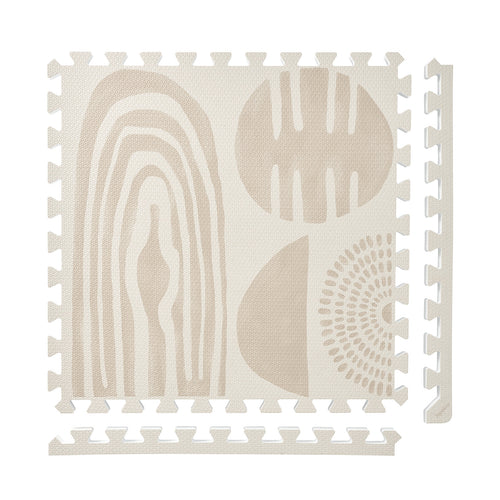
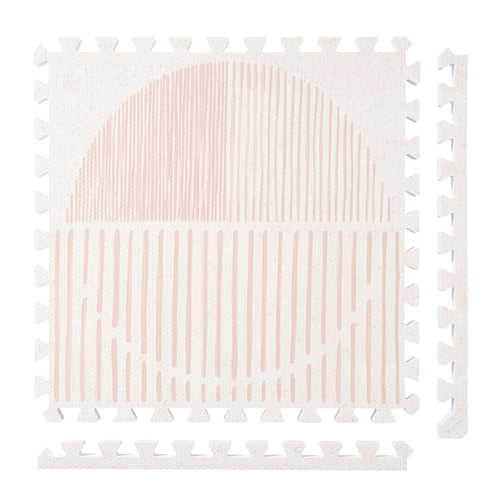
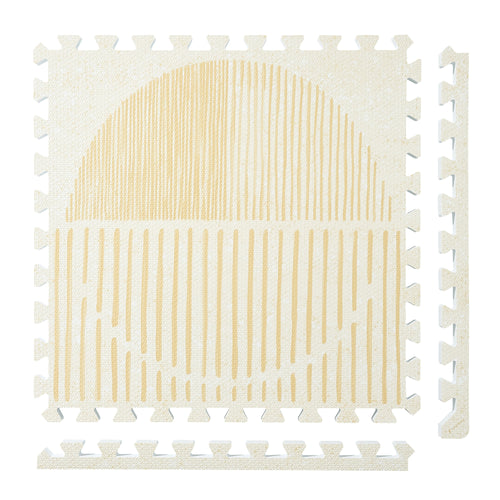
Persian Garden
 Firework
 Boho
Boho
 Little Builders
 Boulder
 Tranquil Flower
 Totem
Totem
Draw an indoor bike floor-zone plan
Place the exact indoor bike on a room drawing before planning the floor around it. Keep the bike footprint, the additional space specified in its instructions and any separate surrounding floor area as distinct outlines. This guide does not establish that PopsyKosy tiles may support the bike. The machine’s current placement and surface requirements govern that decision.
Record the machine and the room separately
Use measurements and instructions for the exact bike model. Record the source of a requirement so it does not become confused with a personal room preference.
| Outline | What it represents |
|---|---|
| Machine footprint | The complete installed dimensions in the configuration you will use. |
| Required surrounding space | The clearances stated by the equipment manufacturer. |
| Room access | The planned route from the entrance to the machine and storage. |
| Adjacent flooring | A separate measured area outside the equipment zone. |
Draw two possible bike orientations with the same dimensions and required clearances. Compare door openings, nearby cabinets and the destination for accessories. Do not shrink the equipment outline to make an orientation fit, or treat an unspecified clearance as zero.
Count only the separate surrounding tiles
PopsyKosy’s installation guide describes 24-by-24-inch interlocking tiles, connected row by row by hand without tools or adhesive.
- Resolve the bike’s installation, surface and clearance requirements before selecting any flooring beneath it.
- Draw the equipment zone and access route in each orientation, including any cables or accessories identified in its setup instructions.
- Choose the separate adjacent rectangle you want to evaluate for modular room flooring. Measure that rectangle without including the equipment zone.
- Overlay a 24-inch grid and check the selected configuration’s finished perimeter against the actual remaining area.
If a separate adjacent rectangle is 50 by 98 inches, a nominal two-column by four-row grid is 48 by 96 inches and uses eight tiles. This example counts surrounding room tiles only; it is not a bike support specification or a clearance recommendation.
The same guide describes expansion with compatible tiles of the same thickness. Check current product guidance for the tiles you own and plan to add.
Save the selected orientation with the model number and the measured adjacent rectangle. If the bike moves or its configuration changes, recheck the equipment outline before relying on the old tile plan. Reset nearby accessories to their recorded storage locations after use.
FAQ
Can I include the bike footprint when calculating the surrounding tiles?
Keep the equipment zone separate. Determine its surface and clearance requirements first, then calculate any adjacent room flooring from the remaining measured area.
What if the instructions do not state a needed clearance or surface requirement?
Resolve the missing requirement with the equipment manufacturer before treating the room plan as complete. Do not substitute a tile dimension or a generic mat claim for that information.
Related planning: keep an adventure-parent floor handoff log.