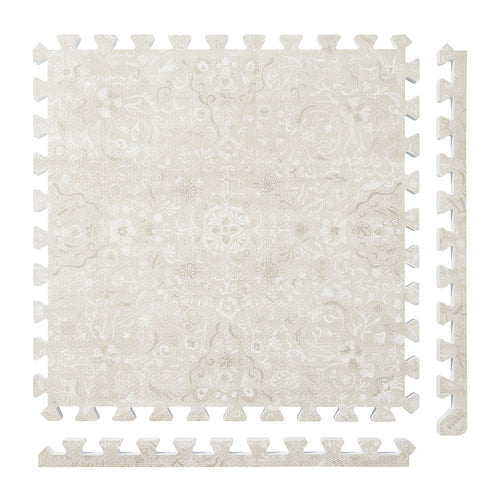
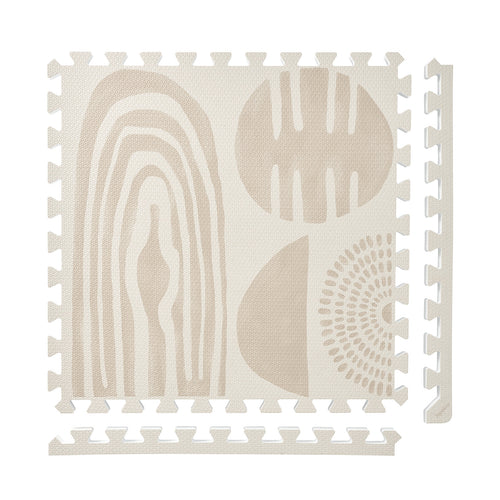
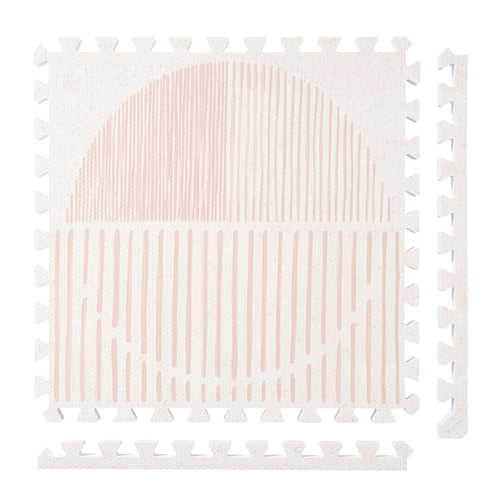
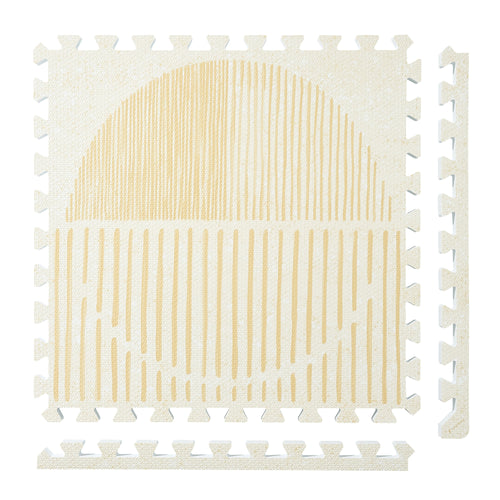
Persian Garden
 Firework
 Boho
Boho
 Little Builders
 Boulder
 Tranquil Flower
 Totem
Totem
Plan a mat layout for a shared kids’ room
Start a shared-bedroom floor plan with the pieces that stay in place: beds, wardrobes and storage. Draw how each person reaches their bed and belongings before choosing the mat footprint. The room’s total floor area is not the same as the clear area available for a layout.
Give each bedroom feature its own line
Use a top-down sketch with measured furniture outlines. The aim is to make access decisions visible before you count tiles.
| Bedroom feature | Mark on the drawing |
|---|---|
| Each bed | Its footprint and the route from the room entrance. |
| Wardrobe or dresser | The space occupied when doors and drawers are fully open. |
| Assigned storage | Which shelves or bins each person needs to reach. |
| Shared floor area | The rectangle left after the furniture and access decisions. |
Check the drawing from both bed positions. A layout that looks centered in the room may still interrupt one person’s route to a drawer or shelf. Adjust the proposed boundary to the measured room rather than choosing symmetry first.
Choose the boundary before the tile count
PopsyKosy’s installation guide describes 24-by-24-inch interlocking tiles, connected row by row by hand without tools or adhesive.
- Draw furniture that will remain outside the mat area, including any projecting bed frame or storage base.
- Show doors and drawers open on the same sketch. Confirm their actual movement and the requirements of the selected furniture and flooring.
- Draw a rectangle for the remaining clear area, then overlay a 24-inch tile grid. Keep leftover strips labeled as leftover space.
- Compare the selected configuration’s finished perimeter with that rectangle before deciding where the boundary will sit.
For an illustrative clear space of 76 by 52 inches, three columns by two rows produces a nominal 72-by-48-inch tile grid using six tiles. The drawing still needs a check of finished borders and the actual furniture openings; the four-inch differences are not a specified clearance.
The same guide describes expansion with compatible tiles of the same thickness. Check current product guidance for the tiles you own and plan to add.
Date the drawing and keep the bed and storage labels. If a bed moves or a dresser is replaced, remeasure the affected route before expanding the mat. A change to furniture can alter the usable rectangle even when the room dimensions stay the same.
FAQ
Should the mat cover all the floor between two beds?
Measure the bed footprints, storage access and door openings first. Choose the boundary from the remaining clear area; the gap between beds is only one part of that plan.
What should I recheck when rearranging a shared bedroom?
Recheck each route from the entrance to a bed, every storage opening and the proposed mat’s finished perimeter. Use the revised clear rectangle for any new tile count.