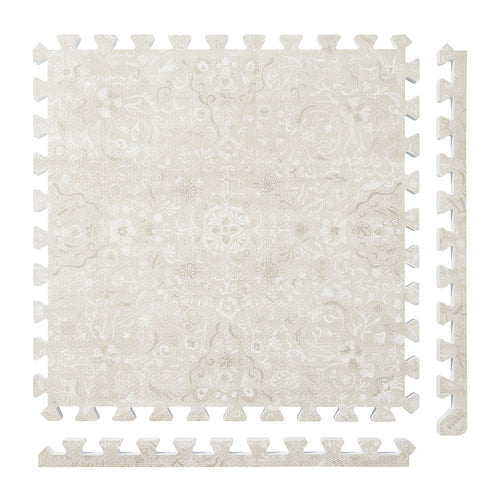
Persian Garden
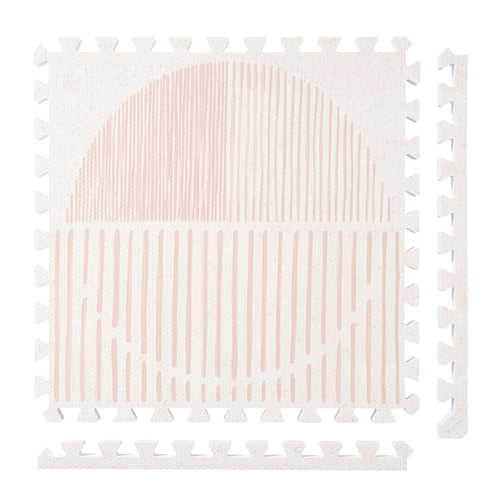
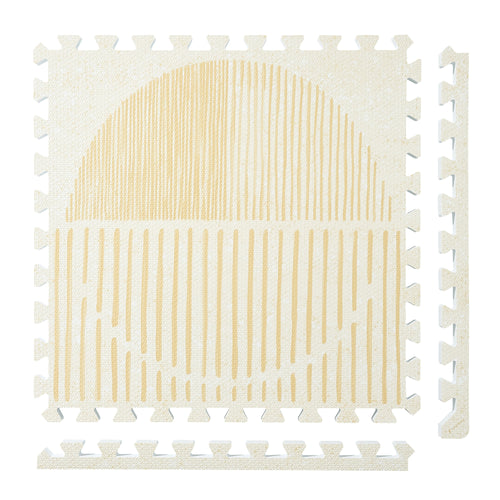
 Firework
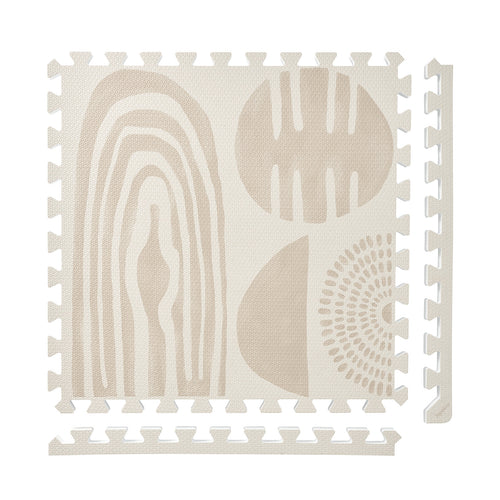
 Boho
Boho
 Little Builders
 Boulder
 Tranquil Flower
 Totem
Totem
Plan a temporary workout zone in the living room
Plan the room in two states: its everyday furniture arrangement and the arrangement during a session. Record where every moved item will go and how the room returns to normal afterward. Choose a surface only when its documented use matches the intended activity and any equipment or instructor requirements; the room plan alone does not establish that match.
Use a before-and-after room sheet
Complete both columns before calculating tile coverage. Avoid making the temporary zone depend on a furniture move that has no destination.
| Room detail | Record the session and reset plan |
|---|---|
| Coffee table or ottoman | Its temporary location and its original position. |
| Seating and side tables | Which items stay fixed and the space they leave available. |
| Routes through the room | The door-to-seating and door-to-storage routes to retain. |
| Session materials | Where equipment comes from and where it returns afterward. |
Compare the temporary furniture footprint with the proposed activity footprint. If they overlap, revise the arrangement. Do not count the same floor area as both equipment space and a destination for a displaced table.
Rehearse the conversion on paper
PopsyKosy’s installation guide describes 24-by-24-inch interlocking tiles, connected row by row by hand without tools or adhesive.
- List the intended activity and any equipment, then check their stated space and surface requirements. Leave unresolved requirements marked as unresolved.
- Measure the clear rectangle available in the session arrangement, after preserving the routes on your sheet.
- Sketch a 24-inch grid for that rectangle and count full rows and columns. Confirm the selected configuration’s finished dimensions separately.
- Write a reset sequence: return session materials, restore moved furniture and compare the room with the everyday drawing.
An illustrative 98-by-74-inch clear rectangle contains a nominal four-column by three-row tile grid of 96 by 72 inches, or 12 tiles. The remaining two inches in each direction are arithmetic differences, not a recommended clearance or a guaranteed allowance for borders.
The same guide describes expansion with compatible tiles of the same thickness. Check current product guidance for the tiles you own and plan to add.
If the zone will be assembled repeatedly, record the selected row count and orientation beside the reset sheet. Check current handling and storage guidance separately when deciding what to do with the tiles between sessions.
FAQ
Can this layout guide tell me which workouts the mat supports?
No. It organizes room space and the household reset. Confirm the intended activity against current mat guidance and any equipment or instructor surface requirements separately.
What if there is no place for the coffee table during a session?
Revise the temporary arrangement before choosing tile coverage. A displaced item needs its own destination outside the activity footprint and the routes you plan to retain.
Related planning: audit an active family room EVA search safely.