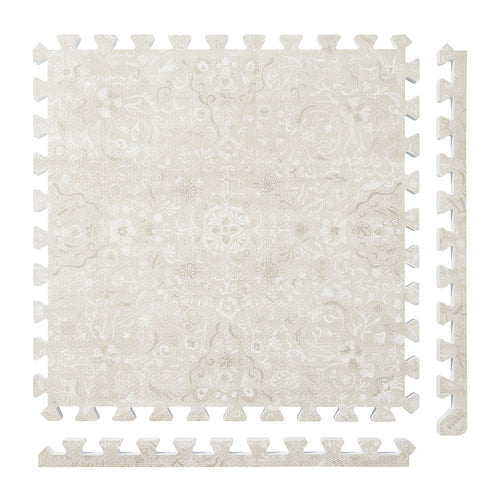
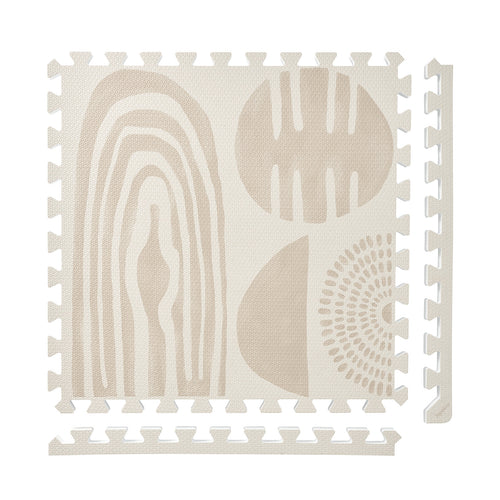
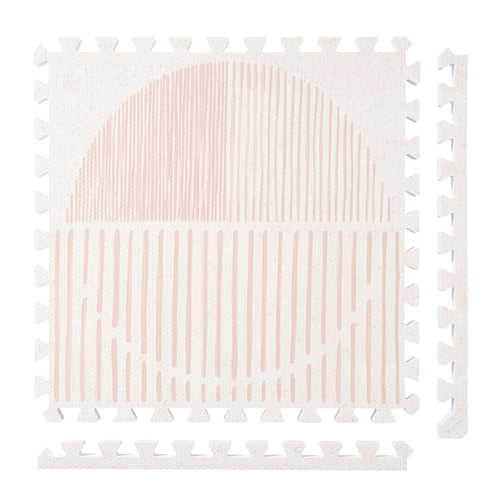
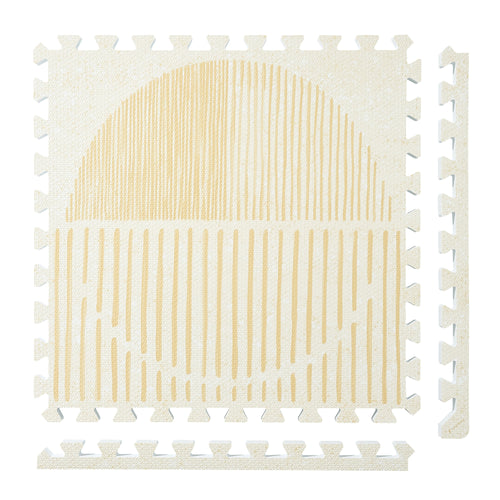
Persian Garden
 Firework
 Boho
Boho
 Little Builders
 Boulder
 Tranquil Flower
 Totem
Totem
Plan the Area Around a Dog-Grooming Spot
Make a simple layout note for the floor area around a grooming or brushing spot, then attach a configuration record and a post-session cleaning log. This guide organizes the surrounding area and the maker’s hand-care steps; it does not establish that a tile surface is suitable for grooming or provides slip control.
Draw the surrounding area as distinct parts
On a sketch, label the spot used for the session, nearby furniture and the place where supplies are kept. Mark the floor area you are considering for tiles as its own part of the sketch.
For example, a supply shelf and the open area beside it are two different entries. Record their locations without treating the shelf footprint as part of the proposed tile area. The sketch is an editorial planning tool, not a grooming setup specification.
Keep the proposed configuration beside the sketch
Build Your Floor shows 12-, 24- and 30-tile configurations and labels its thickness choices “0.5-inch Everyday” and “1-inch Extra Cushion.” Copy the selected count and thickness into the layout note.
If you compare alternatives, name them “plan A” and “plan B” and record each count separately. Keep the area sketch attached to the relevant plan so a change to the surrounding layout does not silently become a change to the product selection.
Separate supply notes from tile-care instructions
Keep a short list of the items recorded around the area, such as a brush container or a supply basket. That list describes the room arrangement. Give the tile-care reference a separate place in the note.
The distinction helps the record stay specific: moving a basket changes the layout note, while completing a hand-cleaning step changes the reset log. Neither entry evaluates grooming technique or animal footing.
Log the post-session hand-clean reset
For the tiles, follow PopsyKosy’s hand-cleaning procedure: mild soap, water and a soft cloth, removal of soap residue, and full drying of both tiles and the floor underneath before reassembly.
Record the date and the named area alongside each completed step. If drying is unfinished, leave that status open and update it after checking the tiles and underlying floor.
- Area and session date.
- Hand cleaning completed.
- Soap residue removed.
- Tiles and underlying floor fully dry.
- Reset note completed by.
Revise the layout without losing the reset history
When you change the arrangement, date the new sketch and keep the previous cleaning entry under its original date. The layout record shows what you are planning now; the reset history shows what you documented for earlier sessions.
Use the current product page to review configuration labels and the care guide to review cleaning steps. The records do not promise fur capture, faster cleanup, steadiness or grooming results.