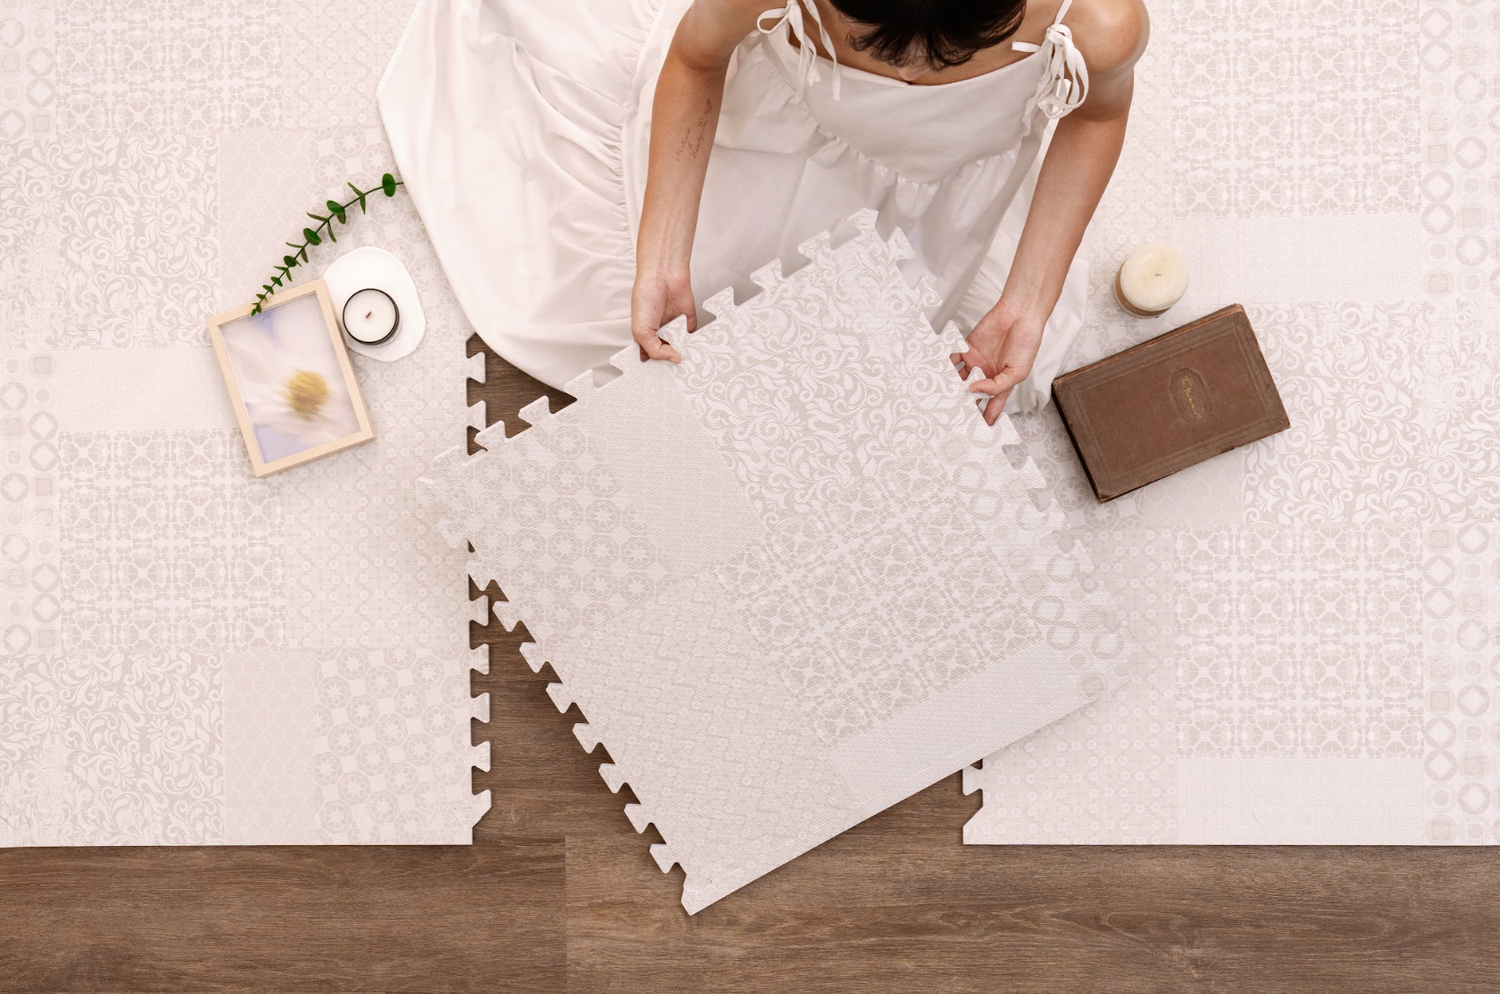
DIY Tutorial: How to Perfectly Splice Your PopsyKosy Play Mat

Splicing your PopsyKosy play mat can be a fantastic way to customize your child's play area, whether you're looking to create a larger play space or add a unique design element to your home. In this DIY tutorial, we'll guide you through the process of splicing your PopsyKosy play mat like a pro, ensuring seamless integration and maximum fun for your little one.
Materials Needed:
PopsyKosy play mats (same or different colors/designs)
Sharp utility knife or scissors
Straightedge or ruler
Cutting mat (optional but recommended)
Double-sided carpet tape or adhesive (if desired)
Step 1: Plan Your Design:
Before you begin splicing your PopsyKosy play mats, take some time to plan your design. Decide whether you want to splice mats of the same color or mix and match different colors or designs for a more creative look. Measure the area where you'll be placing the play mats and determine the dimensions of each section.
Step 2: Prepare the Mats:
Lay your PopsyKosy play mats flat on a clean, flat surface, ensuring that they're aligned properly with no wrinkles or creases. If necessary, use a cutting mat underneath to protect your work surface. Use a straightedge or ruler to mark the cutting lines where you'll be splicing the mats together.
Step 3: Cut the Mats:
Using a sharp utility knife or scissors, carefully cut along the marked lines to separate the sections of the play mats. Take your time and make precise cuts to ensure clean edges. If you're splicing mats of different colors or designs, consider creating intricate patterns or shapes for added visual interest.
Step 4: Fit the Pieces Together:
Once you've cut the mats into the desired sections, carefully fit the pieces together to create your custom design. Align the edges of the mats closely to ensure a seamless fit. If necessary, use a straightedge or ruler to guide the pieces into place.
Step 5: Secure the Splices (Optional):
If you want to ensure extra stability and prevent the mats from shifting, you can use double-sided carpet tape or adhesive to secure the splices. Apply the tape or adhesive along the edges of the spliced sections, then press the mats together firmly to create a strong bond.
Step 6: Test and Enjoy:
Once you've finished splicing your PopsyKosy play mats, give the seams a gentle tug to ensure they're securely attached. Place the spliced mats in your child's play area and watch as they delight in their newly customized play space. Encourage creative play and exploration on their one-of-a-kind PopsyKosy play mat creation!
Splicing your PopsyKosy play mats is a fun and rewarding DIY project that allows you to personalize your child's play area and unleash your creativity. With a few simple steps and some basic materials, you can create a custom play mat that's as unique and special as your little one. So grab your scissors and get ready to splice your way to playtime perfection!
We hope this tutorial has inspired you to get creative with your PopsyKosy play mats. If you have any questions or want to share your splicing masterpiece, feel free to leave a comment below.

